I have a love for paper… I don’t really know what it is – but put me in any office supply, scrapbooking, or greeting card store and I’m a happy girl! It is no wonder that weddings with more paper products and details (cards, letterpress tags, handmade embellishments, poms, tassels, etc.) get chosen for magazine publications so often. They are just pretty, personalized, and fun to interact with! I have been planning out my office space, however small or large it may end up being in D.C. and hanging paper poms is one of the decor projects I have been contemplating for a while.
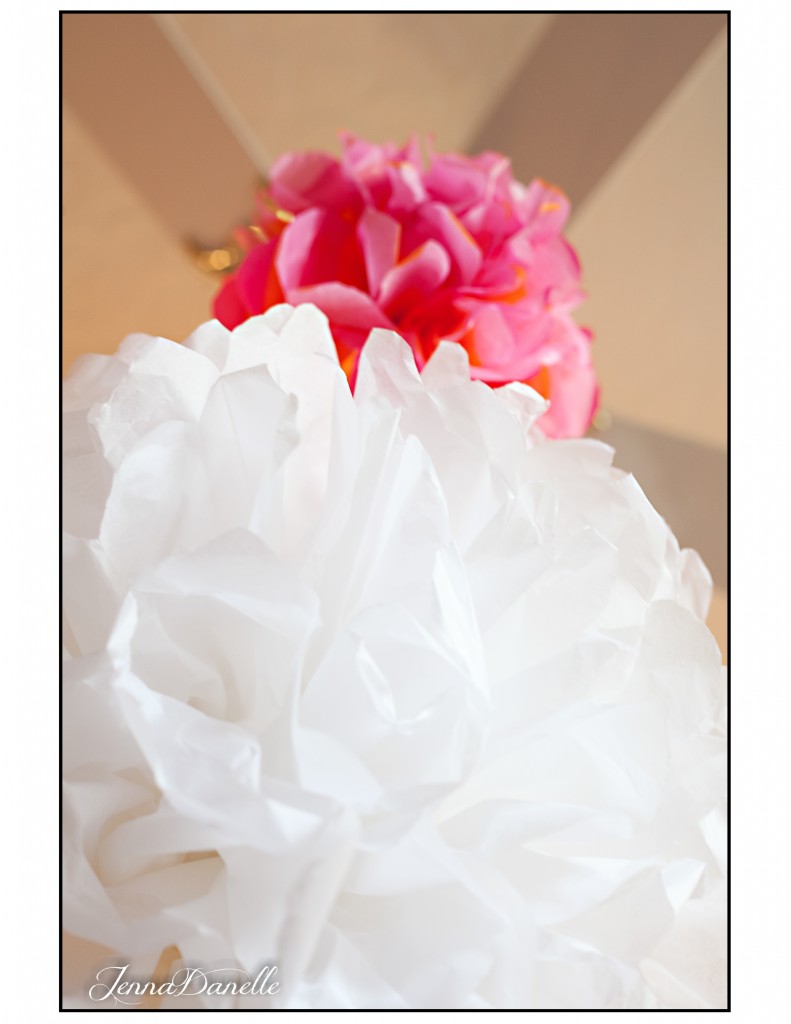
So I am excited to share my recent experiment of paper pom making! I used a bright and colorful striped tissue paper for the two small poms, and a white for the large pom. The project took me around an hour of running around and gathering all my tools, then sitting down and making all three – as well as to get a snack, a drink, and you know – make a phone call… After all – I have a short attention span. Realistically – each small pom takes about five minutes, the large, maybe seven – you have to be patient with the larger one as the paper can rip easily.

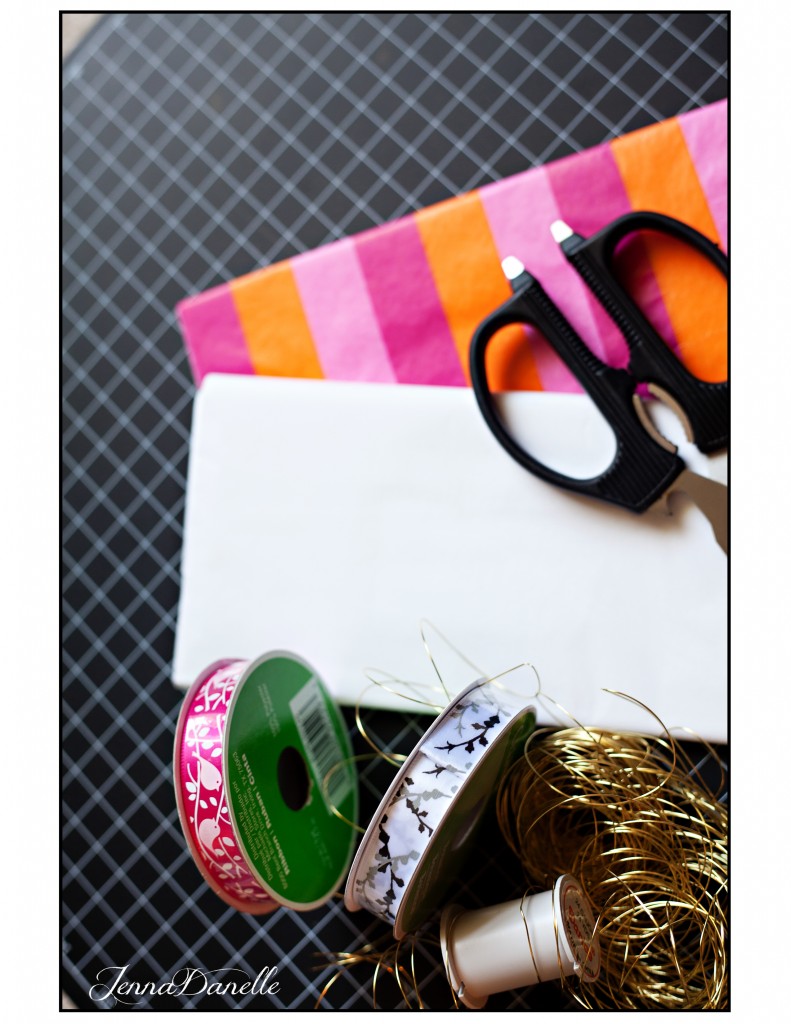
The striped tissue was 5 sheets of standard Hallmark issue paper.
The white tissue I used was 12 sheets of 20×26 inch paper.
What you’ll need:
Tissue paper in your color of choice (you can even stack different colors together)
Florist wire, Long Pipe cleaner, or jewelry wire
Ribbon of your choice or clear fishing line or clear jewelry thread to hang it with.
Scissors
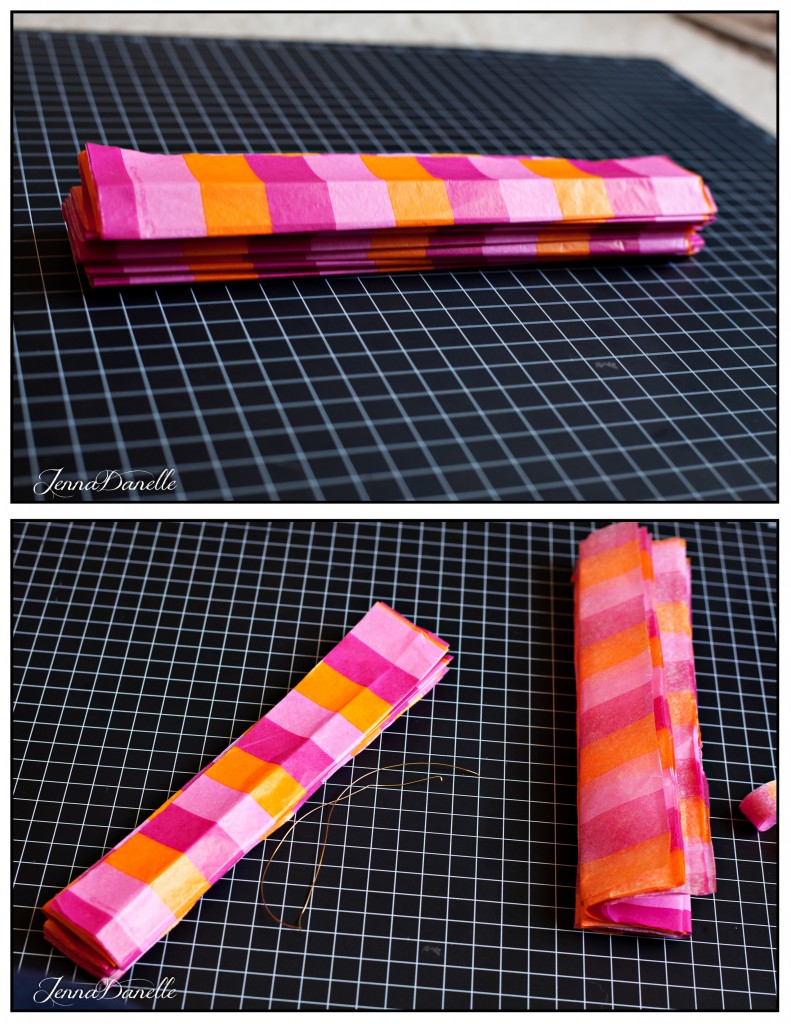
Step one for Small Poms: If you plan on making small poms – you can get two poms out of five pieces of tissue paper. Simply unfold your tissue paper flat and cut in half in the middle vertically with the long edge of the paper and stack to make one pile of ten pieces of tissue paper. After completing step one and accordion folding along the short side of the paper – you will divide your accordion folds in half and cut along the crease in the middle (you are cutting vertically along the short side this time), so you now have two accordion folded pieces, around four folds a piece… Continue onto step two.

Step one for Large Poms: Unfold tissue paper flat, then accordion fold approx 1 1/2-inch-wide sections of the tissue paper (folding on the short side), and crease the paper as you fold.

Step two: In the middle of the paper – place your wire and twist tie shut around the paper. It should be snug, but it shouldn’t crease or fold the paper.

Step three: String ribbon or clear thread you intend to hang the pom with through the wire at this time. It is easier to do this now rather than later, I kept forgetting this step so I know. 😀

Step four: Trim the edges of the paper into the shape of your choice. Experiment with different finishes. If you plan on hanging multiple poms, having a variety can add extra depth and texture to the arrangement.

Step five: Unfurl each piece of paper individually, and take care not to rip the tissue – it is delicate and will tear much easier on the larger poms than the smaller as well – so take your time! I did this by pulling half of the paper in one direction, then the other half of the sheets in the opposite direction on one side, then repeated for the other side until they were all fluffed. Straighten out the edges of the paper as you go – fluff when done.

Step six, hang and enjoy!

You can finish the ribbon off with a little hot glue on the ends if you want to make a loop to hang on things, or leave both ends loose so you can tie them onto whatever you need. You could just as easily hot glue the entire length of ribbon together, leaving a small loop at the top to make it look a little more “finished” than letting it go loose if you have more decorative ribbon.
I had a lot of fun with this project and I hope you do too!


I loved this and am gonna try this myself. You make this look so simple. 🙂 Nice work.